|
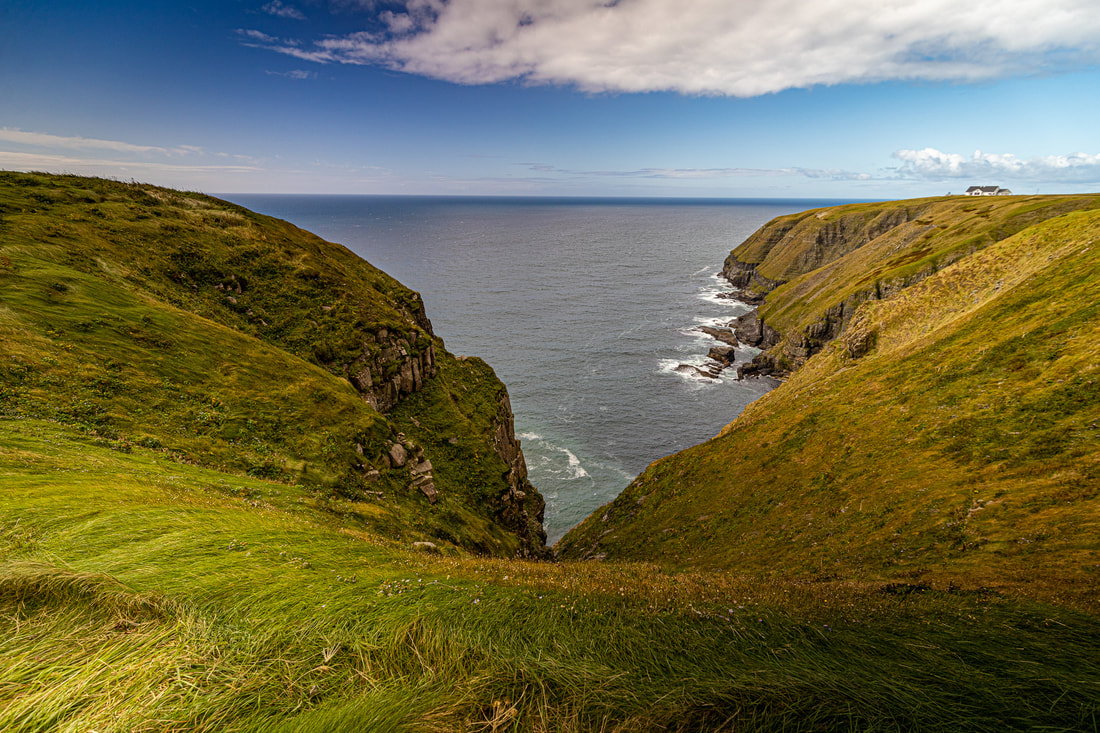
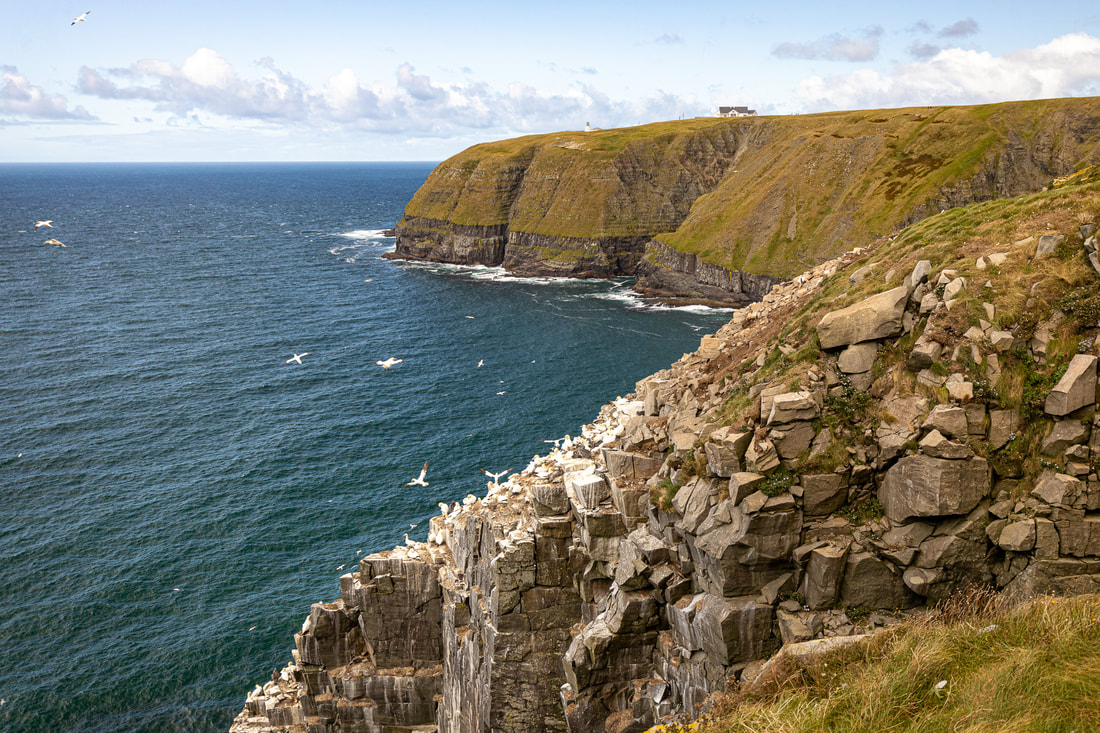
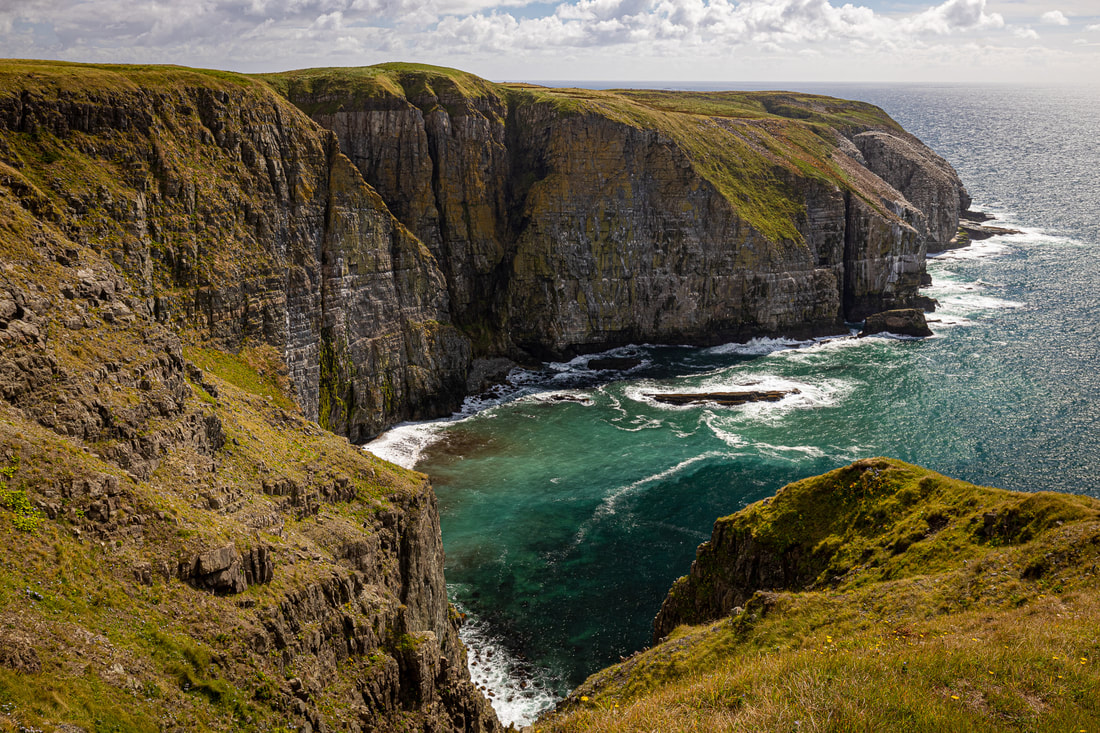
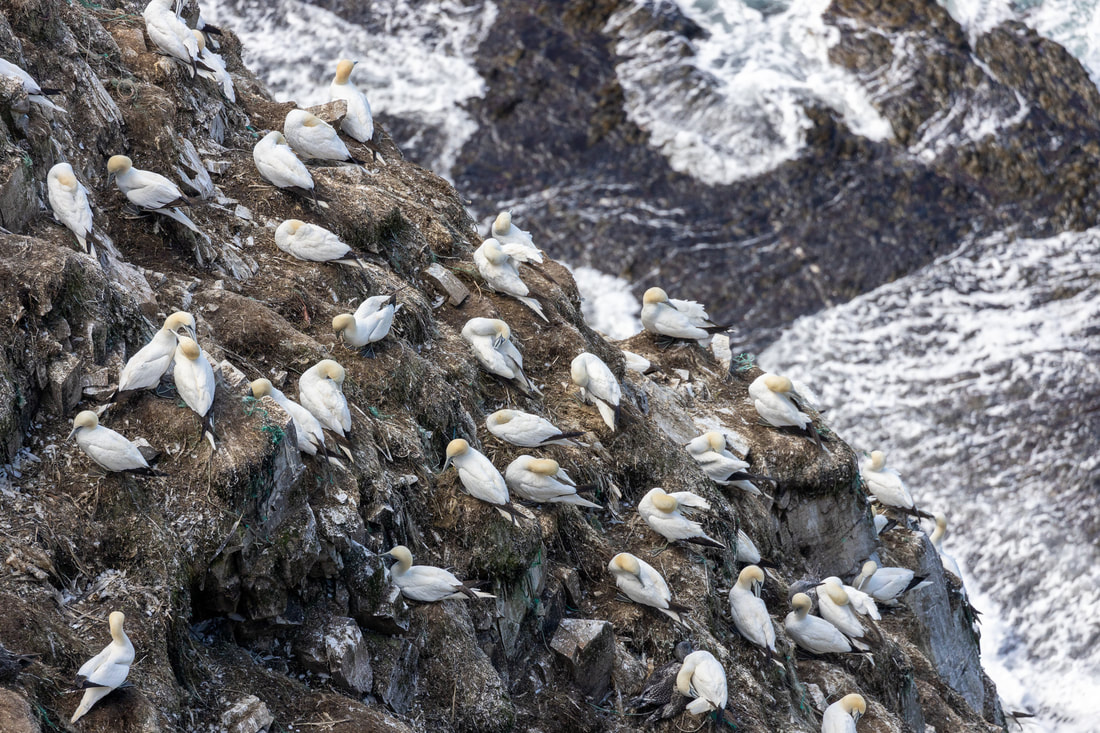
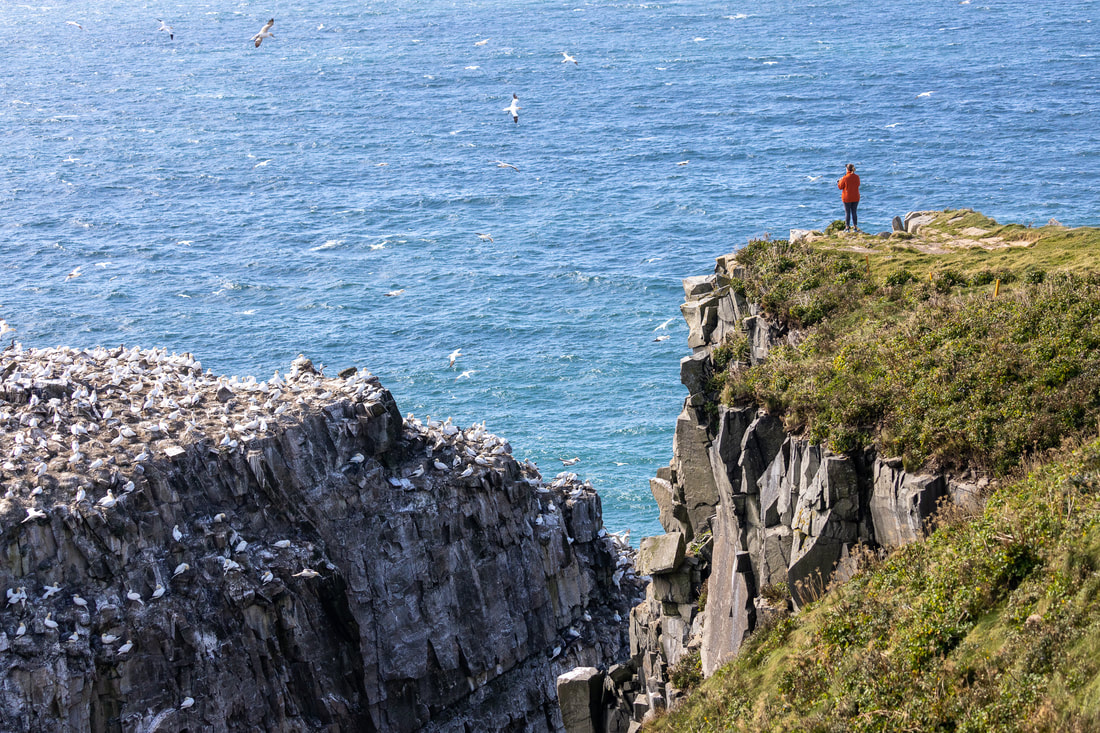
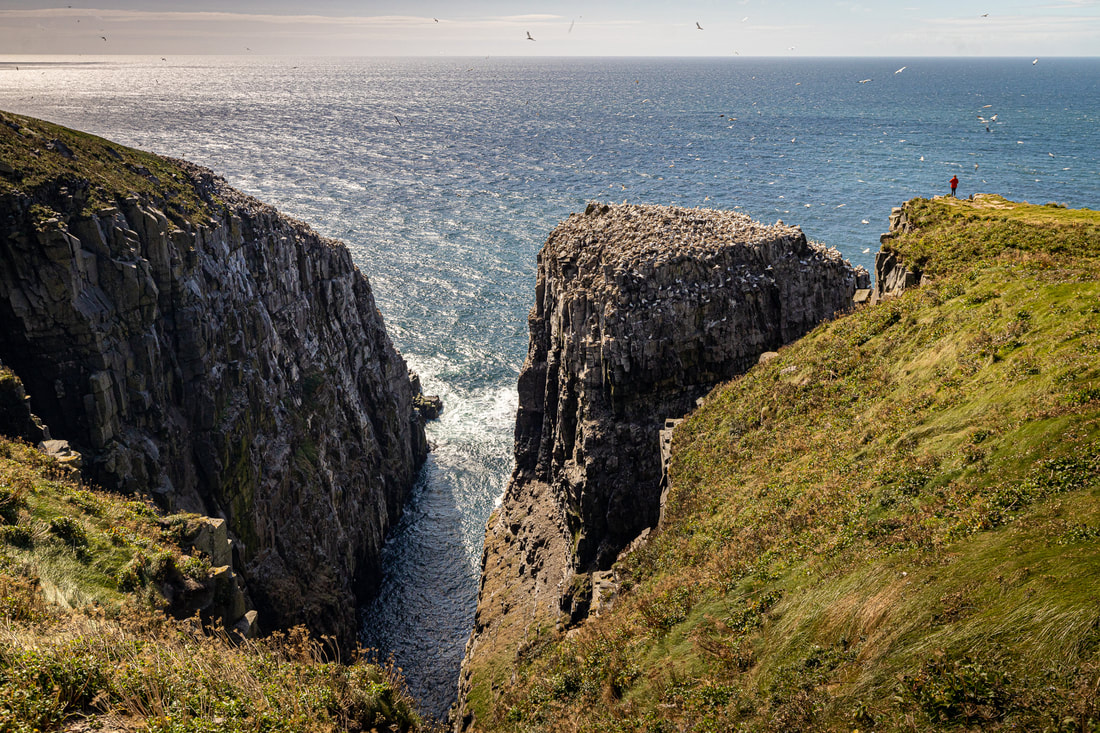
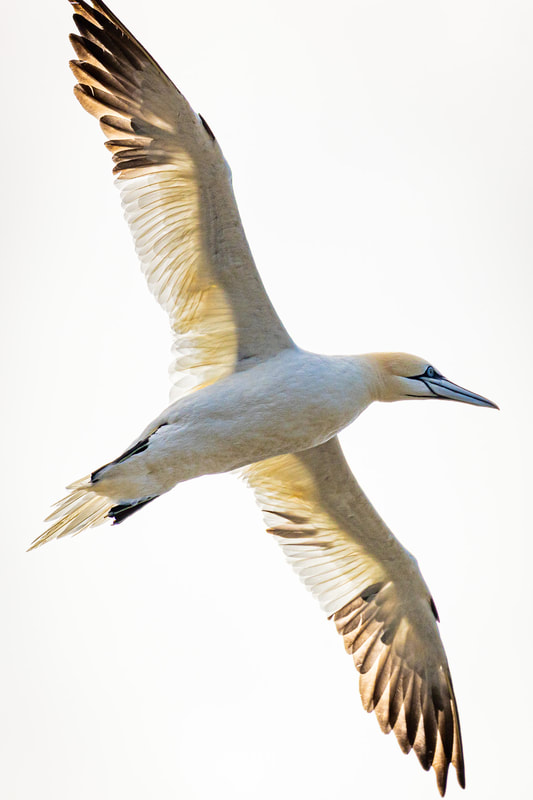
One my favourite places to visit when in Newfoundland and Labrador has to be Cape St. Mary's Ecological Reserve. Located on the southern most tip of the Avalon peninsula, the Cape is easily accessible from St. John's and can reached in about two hours. However, upon arrival you'll feel like you'll feel like you're on the side of the planet. This remote feeling is uniquely Newfoundland, with countless areas that make you feel like you're the only one there. There is a working lighthouse and a very well kept interpretation centre operated by friendly, welcoming staff. This is an ecological reserve like very few others. If you're into bird watching by the thousands, this is the place you must go. From the Newfoundland and Labrador Tourism website: "Thousands of gulls, razorbills, common murres, black-legged kittiwakes, northern gannets, and double-crested and great cormorants nest here. Where 20,000 scoters, long-tailed ducks, harlequin, dovekies, thick-billed murres, and kittiwakes winter. This captivating area is one of seven protected seabird ecological reserves." Not just for bird watchers, the rugged shorelines, hundred meter cliffs, and rolling grassland is a great spot for landscape photographers. For me, the real attraction is the opportunity to photograph the landscape, while the birds are the icing on the cake. You're almost guaranteed at least a few good keepsake photos from here, no matter the weather. So let's talk about the weather. It's never not windy. The reserve is quite exposed to the North Atlantic and the numerous winds that pass through this part of the province. While it can be warm, the wind is a constant reminder of where you are. There is a relatively short trail that ends at the main nesting area. The best way to describe the scene would be to imagine you're at an IMAX theatre, but in real life. Massive Gannets with a nearly six foot wingspan soar all around you squawking, seemingly unbothered by your presence. And your presence is known, because you can stand at the closest edge to their nesting spot, where their lives unfold before your eyes.
I wouldn't classify myself as a bird photographer, but given your proximity to these birds, you become one. I would recommend bringing a 16-35mm wide angle lens for the landscape shots and either a 70-200mm for capturing flying birds, or a 100-400mm for getting close to nesting birds. With any lens you choose, you'll be rewarded.
0 Comments
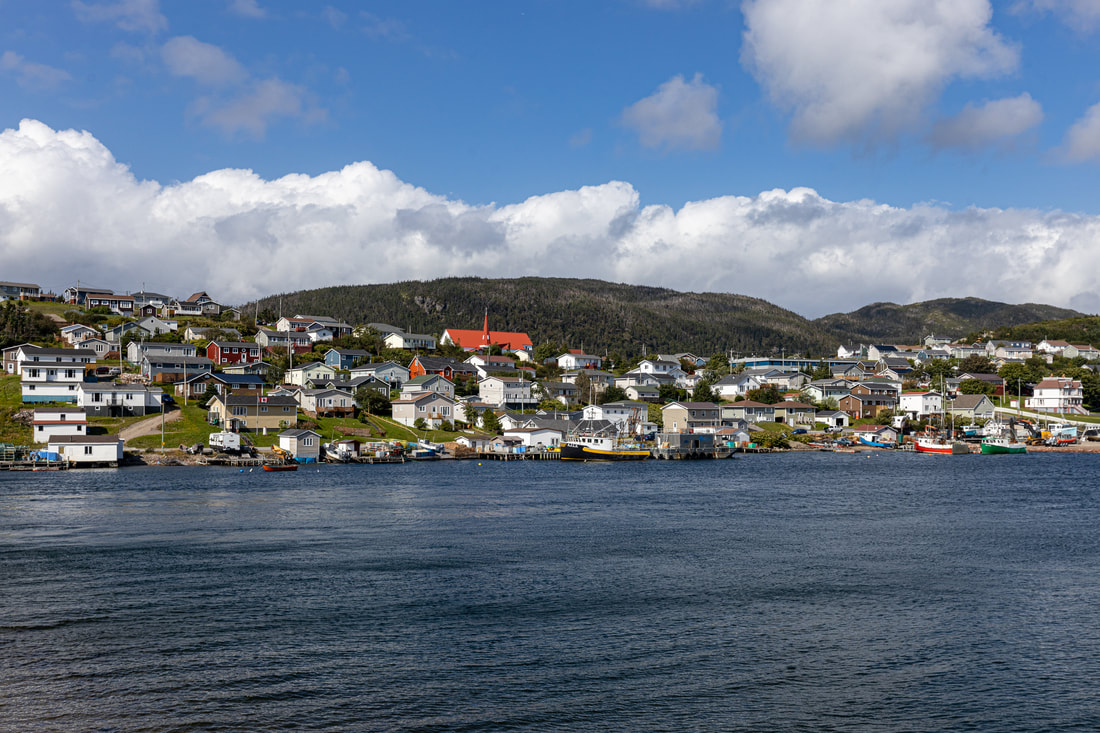
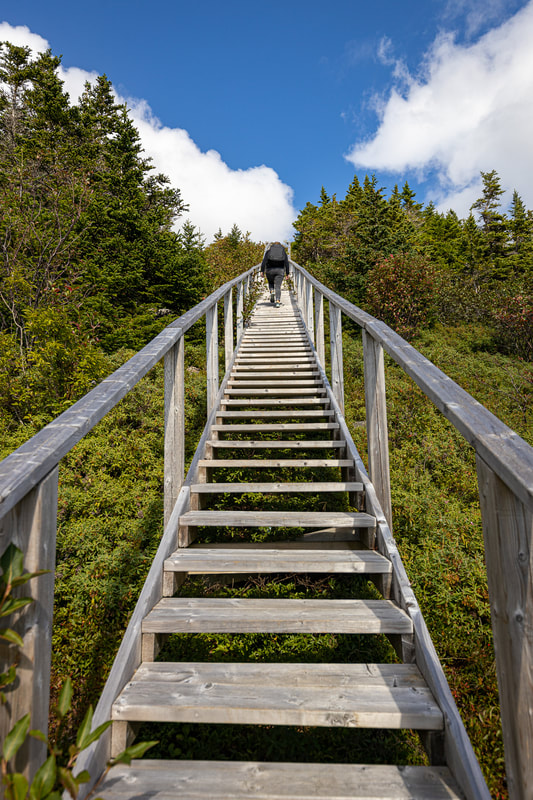
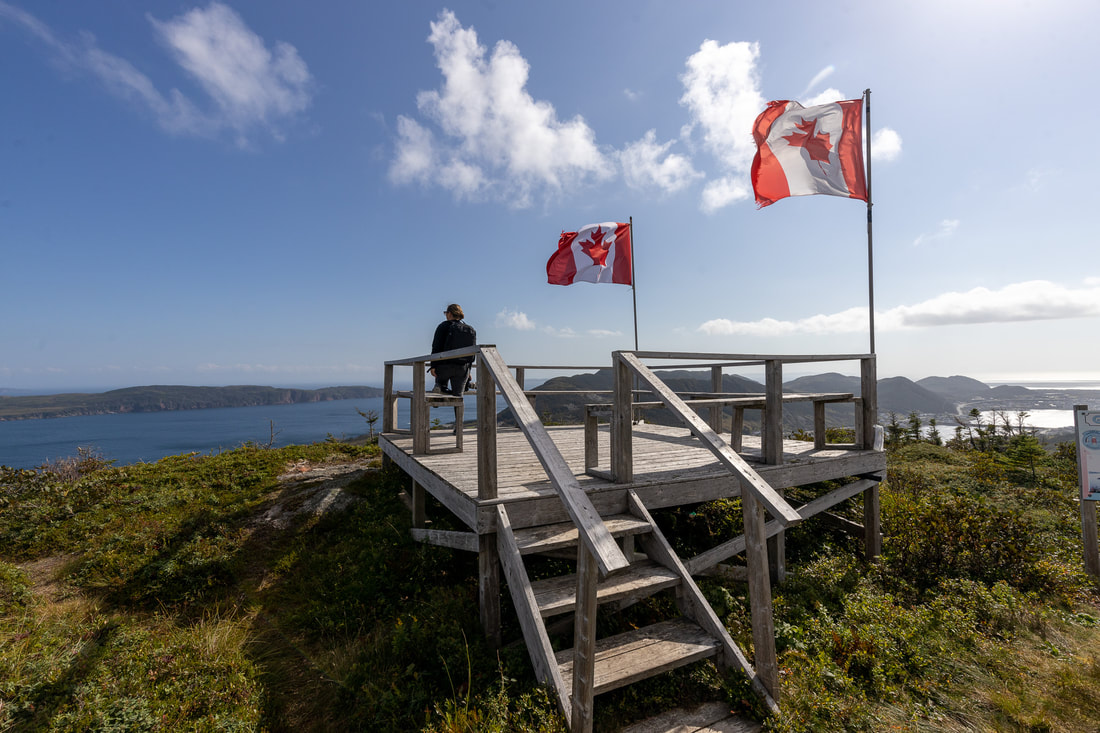
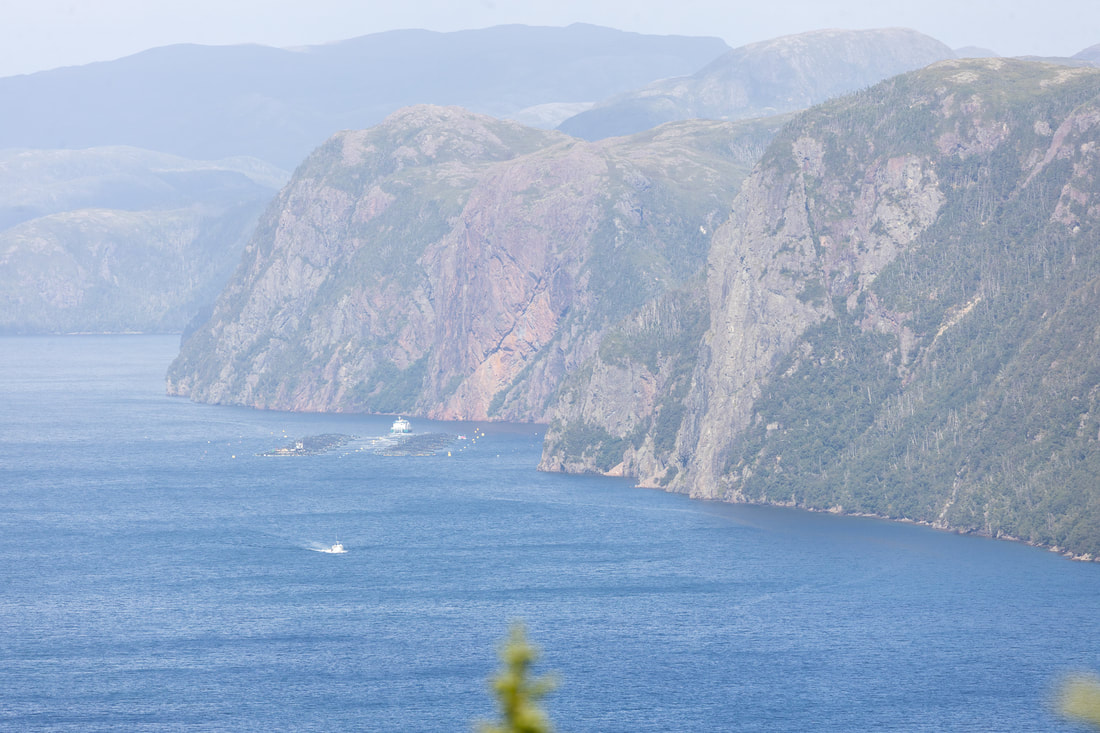
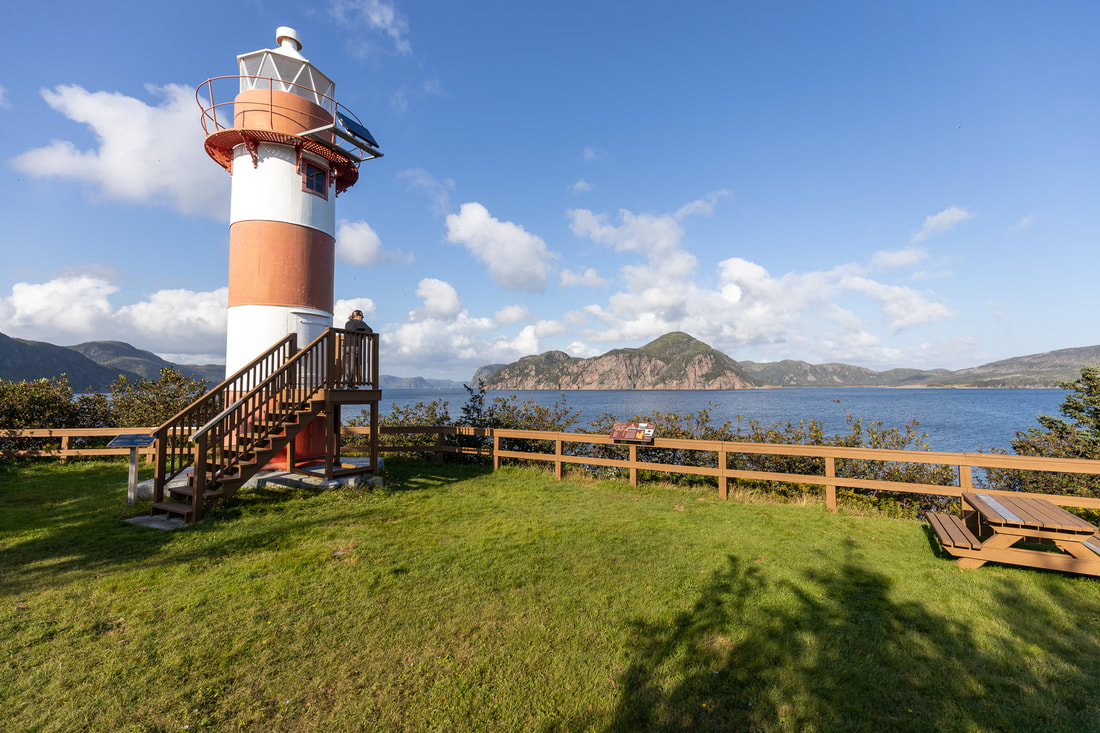
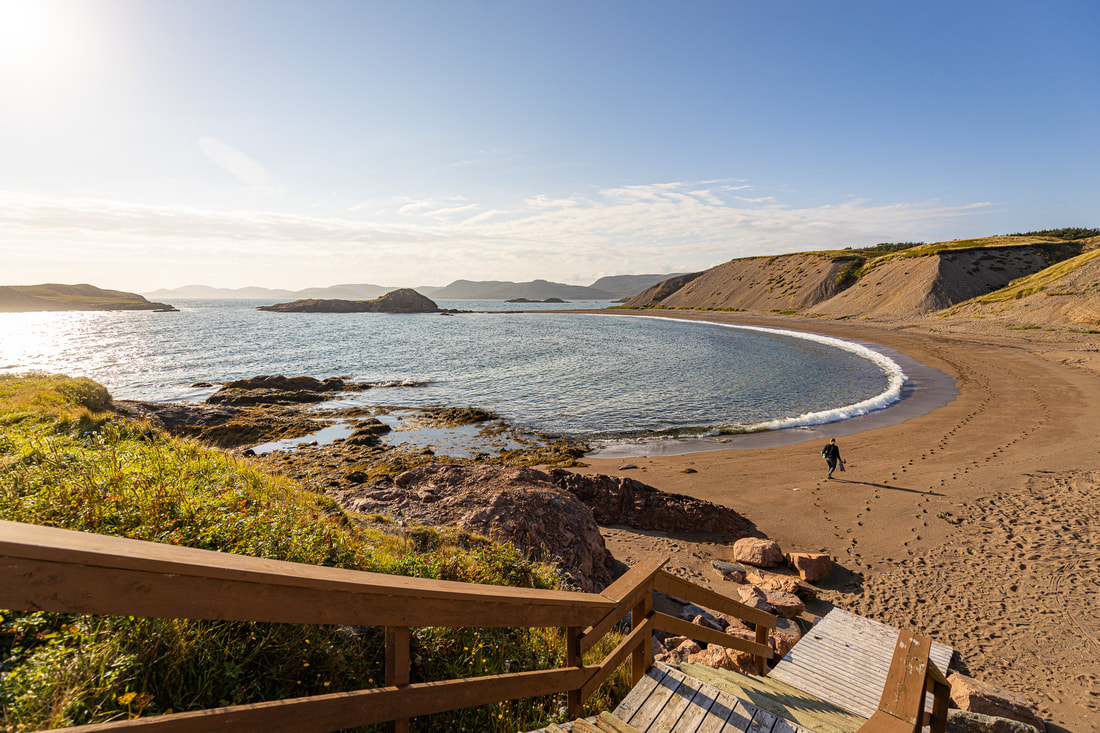
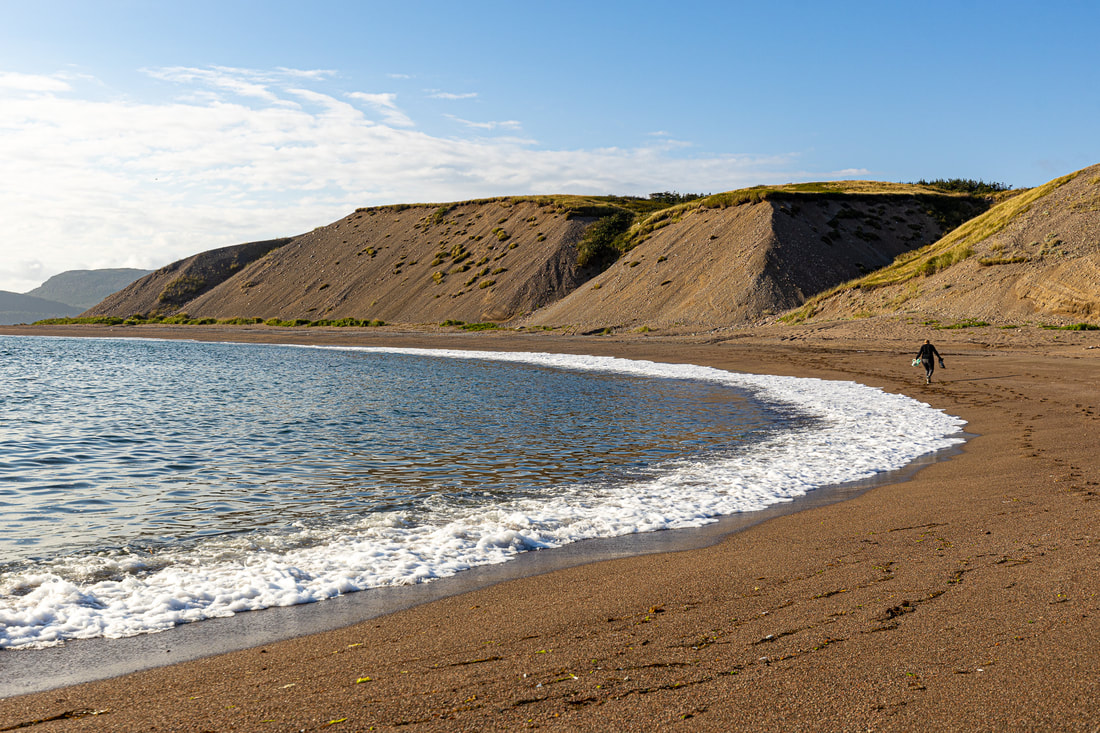
Newfoundland and Labrador has an abundance of popular destinations for the traveller. Easy accessed and well adorned vacation spots litter the province, welcoming newcomers from everywhere. My wife and I spend a lot of time on the Rock. Over the past three years, we have travelled extensively throughout the province. Armed with cameras and an ambitious desire to see new things, we usually like to set our sights off the beaten path. Discovery is the key word here, a word that describes Newfoundland and Labrador perfectly. One part of Newfoundland and Labrador we haven't had the chance to explore is the southern coast. Stretching from the Burin peninsula, all the way to Port Aux Basques, the southern coastline is mostly accessible by ferry. However, if you head south down Highway 360, it will eventually pop you out at a small town called Harbour Breton. The trip takes trough classic Newfoundland tundra and Boreal forests, and if you're lucky, you'll spot some grazing caribou. Then something magical happens. The views open up and you realize how much elevation you've gained. You'll see rolling hills that turn into mountains. Fjords will appear, and the ocean can be seen in the distance. From this vantage point, you've almost completed the journey. A few steep descents later and civilization reappears - the town of Harbour Breton. The cliché, "The light at the end of the tunnel" was originally coined for Harbour Breton. That's not a real fact, but what is real is the beauty of this hidden gem. Upon arrival, you're greeted with a hustle and bustle saved for larger towns on the Avalon. Shops and businesses are busy and locals are smiling. And you see why. Harbour Breton is stunning. Its narrow, long harbour is flanked by steep hillsides and well kept homes. As you might expect, people are friendly and welcoming. The first thing we did was hike to the top of the Gun Hill lookout. A short 1.3km hike almost straight up - get ready for a work out! This climb consists of hundreds of stairs, boardwalks, and a little taste of natural terrain. Hikers who ascend the peak are greeted with 360 degree views of... everywhere! Look back on where you came from and the entire town of Harbour Breton. Take a gander to the other side and steep mountains and fjords are spotted in the distance. On a clear day, you can spot not only the Burin peninsula, but the French islands of Saint-Pierre et Miquelon. If you love capturing the moment (there are lots of them), a camera is a must. After snapping about a hundred photos, we headed back down and visited the Rocky Point Lighthouse. An easy walk takes you to this small beacon that overlooks Jersey Harbour. If you have a set of binoculars or a telephoto lens, you can spot a shipwreck on the other side of the harbour. 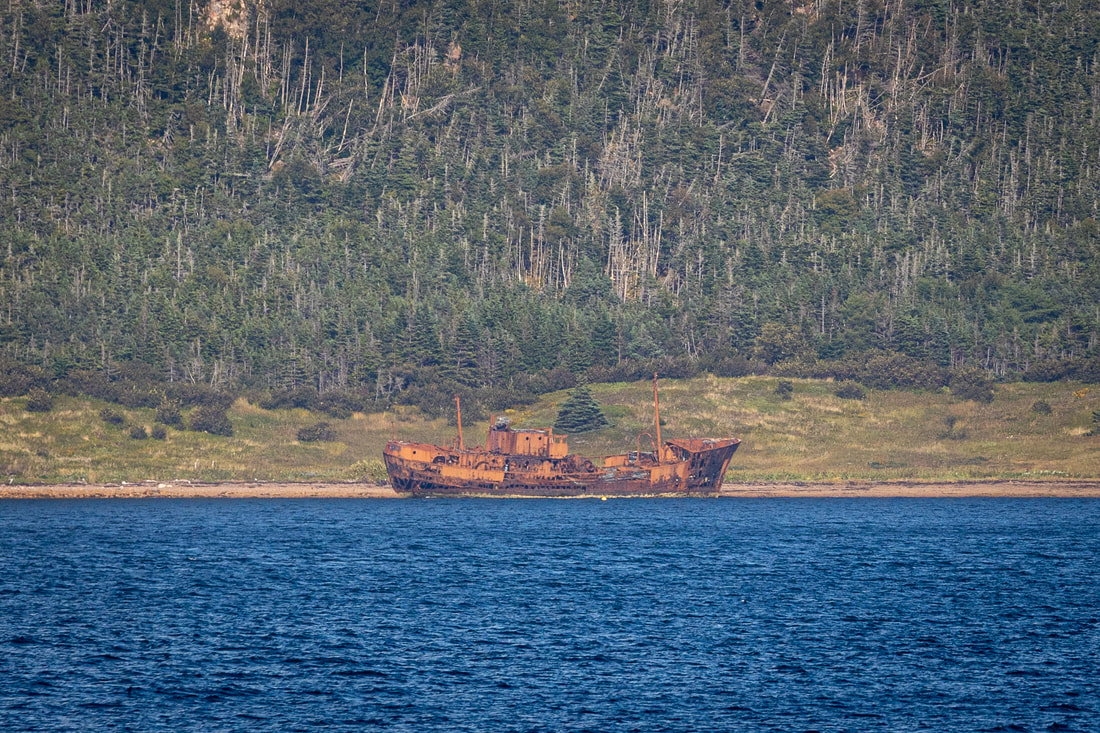 We headed into town and checked into our hotel, the Southern Port Hotel and Chalets. The owner of the hotel greeted us with a smile and we proceeded to share the story of our mini adventures. He recommended that we grab a bottle of wine and head over to Deadman Cove beach trail. Already satisfied with the Gun Hill trail, we took him up on the offer. My wife and I grabbed a bottle of Cab Sav from the liquor store down the street and departed for the trailhead. Deadman Cove Beach Trail is not what you would expect. And by that I mean, you're not prepared to see a white sand beach in this part of the World. We were in awe of this vast, almost tropical looking oasis that lay before us. After I picked my jaw up off the ground, I thought how fortunate are the townsfolk of Harbour Breton to have this large crescent shaped playground at their disposal. Anywhere else in the World and this beach would be inundated with people. But here on this day, we were the only ones there. We walked to the other side of the beach, shared a snack and some wine, and watched a warm September sun dip below the horizon. What an amazing day, filled with surprises and sensory overload. Harbour Breton is off the beaten path, but very much worth the journey.
Wayne Parsons 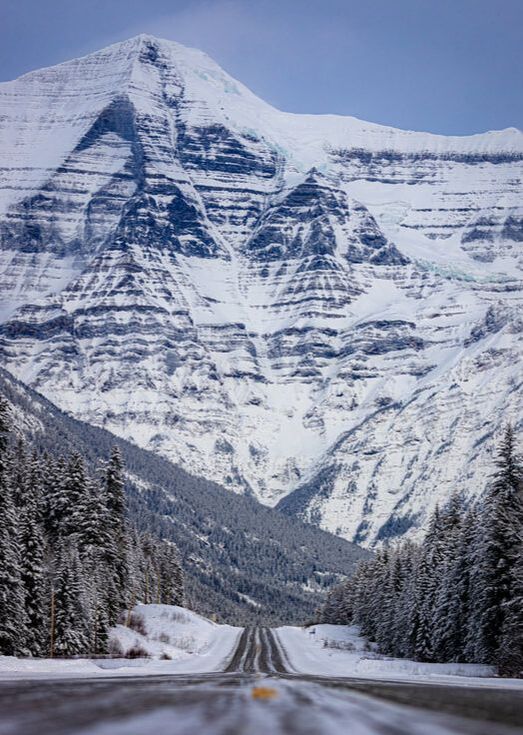 Landscape photographers often complain about having nothing to shoot. The light is too harsh. There's not enough light. The light is too flat. There's nothing interesting to shoot. What's really happening here is that they're either losing creativity, or they are pigeon-holing themselves into one style. Are you a light chaser or can you adapt to anything? I've fumbled with this many times. I still do. If it's mid day with a harsh summer sun beaming down, I want to leave my camera at home. On the other hand, if the light is super flat, I often find myself bored with the scene. But, that got me thinking, how can I change things up and adapt to the situation to produce interesting looking images? In reality, there is no bad light (within reason) and there is always something you can photograph. The only limiting factor is you. This image of Mount Robson is a good example. Camera resting on the road, shooting telephoto, foreground elements, overcast day. I started forcing myself to shoot when conditions aren't ideal. Here are some techniques I've learned and started teaching: 1. Put your camera on the ground. Not literally, but occasionally maybe. Placing your camera at the lowest possible angle will do two things. First, it will introduce foreground elements that were otherwise missing in your shot. Second, it will give your final image more of a sense of scale. Static camera positioning is boring. By getting low, you can have interesting looking subject matter at a macro level that counteracts your main subject matter. Sometimes, the foreground becomes the subject matter and the background is blurred out. Some of my favourite photos have been when I didn't expect a result. 2. Shoot at the extremes. My main two focal lengths live in the 16-24mm and 200-400mm neighbourhood. Rarely am I shooting in between that. I never understood why some landscape photographers only shoot wide. Why? You're losing out on such a different, space crushing perspective while shooting telephoto. In fact, my Canon EF 100-400mm lens is mounted to my camera 90% of the time. You'll gain so much more information within the frame that you couldn't get at a wide angle. Try it. 3. Use a neutral density filter. Slow that shutter down, freeze the water, blend moving objects into one ribbon of colour. Spin your camera on the tripod head, or zoom in with a slow shutter. Get artistic and defy realism. I've really adopted this technique recently, because it adds a surrealistic element to a normally static scene. 4. Use lighting. What? Landscapers bring artificial lighting to the outdoors? Yes. Don't be afraid to bring a flash or better yet, a portable studio strobe. Light falls off very quickly, especially outdoors, but this isn't necessarily a bad thing. If your scene is kind of boring, bring someone to model for you, pop a bit of fill flash on them, and incorporate the background landscape. What you will end up with is more separation of the subject matter with the background and hopefully, a more professional looking image. A landscape photographer who can successfully incorporate artificial lighting into their scenes has an extra advantage over those who don't (or can't). 5. Think differently. If the day is drab, overcast, flat, or you're in a dark forest, shoot the scene with the end result being a black and white photograph. Imagine the final product - are the whites white and the blacks black? Use the conditions to boost the mood of the image. Bump your ISO up and get grainy. Create drama by taking advantage of those drab conditions. Again, I forced myself to bring my camera along and what I've ended up with are some of my favourite images. It helps imagining what the edited scene will look like in the end. There you have it. What are your tips for shooting in less than ideal conditions? Leave a comment or email me. 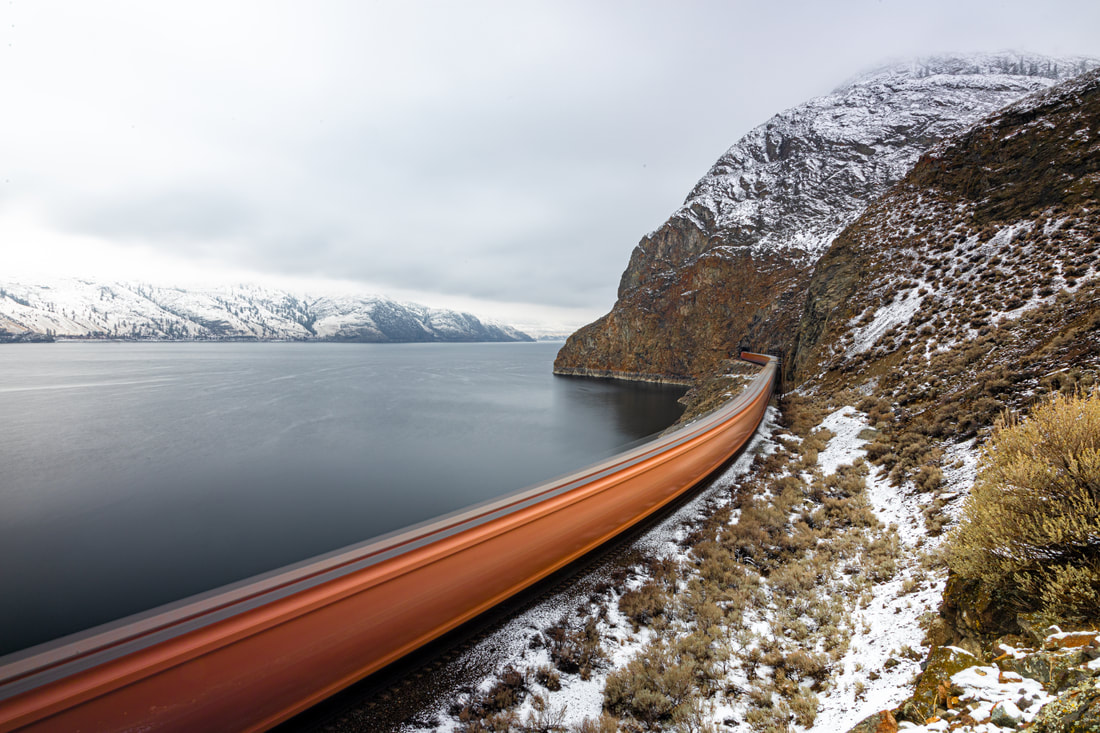 A fellow photographer friend of mine once described me as a "run and gun" shooter. He meant that when I photograph landscapes, I capture them as they happen. I didn't take offence to this, as many careers were spawned from this style of photography. Photo journalists, sports photographers, and everyday citizens who were lucky enough to capture historic events would all be classified as "run and gun". Think about the most memorable photographs in modern human history - almost every one of those photographers just happened to be at the right place at the right time. His labelling of my style got me thinking, I'm more than that. It made me feel like a lazy photographer. I began seeking out situations and landscapes that were planned ahead of time. Instead of capturing the then and now, I was aiming to create the scene. I recalled what I learned but had long forgotten because I had just stopped doing it. I went with the purpose of adding artificial lighting, using a neutral density filter, and slowing my shutter speed way down. I sought out waterfalls, raging oceans, and moving objects in order to engage my fine art abilities. My tripod goes with me more often than it does not, as I am now planning the outcome of how the finished product will look in the end. In a way, I take the moniker of "run and gun" as a compliment. Often times, I find the most interesting photograph doesn't really have a subject matter. Sometimes it's what's going on behind the scenes that draws me in because nothing was planned. Having a good eye to know when to document what's transpiring right now is an art form in itself. It may not be as technically challenging, but you have to be quick, you have to be ready as events unfold. I would classify my friend as a fine art photographer. His work is beautiful. HDR shooting at it's finest. His shots are well thought out and well executed. His subject matter is spot on. But with this style, comes patience and skill, especially in the final edit. Unfortunately, I sometimes don't have the time, nor the patience to sit and wait for that perfect shot. Full respect for the effort though. If I find myself going out in nature without much of a plan, I will sometimes set my camera to Aperture Priority. Why? Because I need to be ready quickly. I can still adjust my ISO and exposure based on the ambient lighting, but the camera has to prioritize a fine depth of field and a fast shutter for those times when I see an animal, for example. In these situations, AP is a baseline mode to get me to the finish line in a hurry. A starting point if you will. If I know that I have to be quick in getting an image of a startled bear or an eagle flying overhead, then my aperture is usually locked down and my shutter speed is high. After all, it's the finished product that truly matters, not how you got there. WP |
Wayne Parsons
Documenting my experiences and travels through photography. Archives
June 2024
Categories |


 RSS Feed